Being able to target Google’s massive user base can be a recipe for success for many Shopify stores as it allows you to get more visibility for your products.
The easiest way to get started with Google Ads is on Google Shopping.
And that journey starts with connecting your Shopify store to Google Merchant Center.
Table of Contents
What is Google Merchant Center?
Google Merchant Center is a free tool by Google that lets you manage the connection to your ecommerce platform to connect all of your products data to Google’s systems.
The most common way to do that is through a product feed. Google then uses all of that information to create Shopping Ads, as well as show it in different places on the Google platform.
How to Connect Google Merchant Center to Shopify
To connect Google Merchant Center to your Shopify store, you must create a Google Merchant Center account first.
To configure your account, follow the steps below.
Step 1: Add Your Business Information
Connecting Google Merchant Center to your Shopify store begins with providing your business information. If you did this when you created your account, you can skip to the second step. Otherwise, here’s what you need to do:
- First, click the Tools and settings icon found on top of your Google Merchant Center interface.
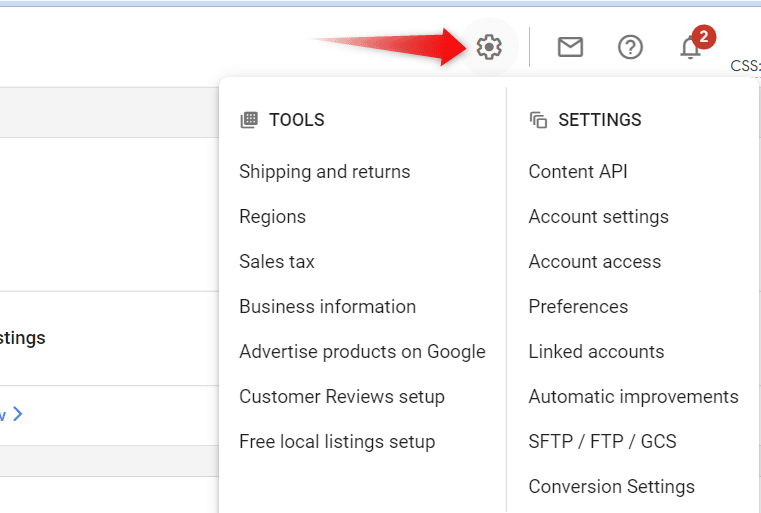
- From the list of options, click Business information. This will redirect you to a page where you need to provide the details of your business and website.
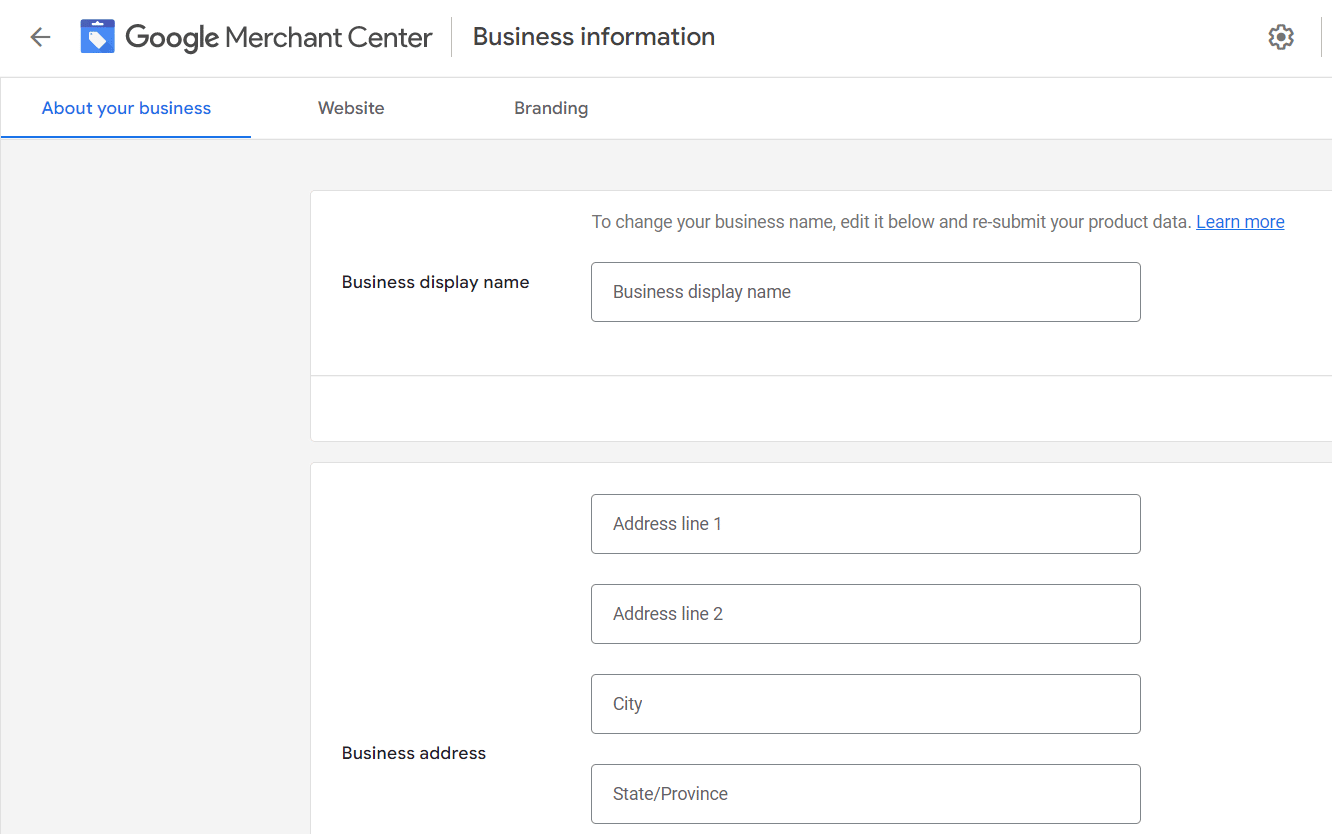
- The page is subdivided into three sections, namely, About your business, Website, and Branding.
- At this point, fill in the required fields about your business and proceed to submit your business information.
NOTE: It’s crucial that you fill this out accurately and to provide all necessary contact details. Not providing certain details or adding the wrong information might lead to an account suspension.
Now that your GMC account is configured, it’s time to connect your store.
Step 2: Import Your Product Feed to GMC from Shopify
Now we need to get your products into Google Merchant Center.
There are three ways to do this:
- Manually adding individual products to Google Merchant Center
- Manually uploading a product feed
- Automate feed creation and syncing with an app (recommended)
Both options 1 & 2 allow you to quickly add information into Google Merchant Center. The big problem is that any changes you make to your Shopify store, will not be reflected in your products feed.
So you’ll have to manually keep them in sync.
That’s why these options are only a good fit if you have a very small number of products.
That’s why we’ll start out with our recommended method: using an app.
Method 1: Google Shopping feed apps from the Shopify App Store
There are dozens of apps in the Shopify app store that can help you with your product feeds.
These is my current top 3:
- Google channel by Shopify (managed by Google 😅)
- Simprosys Google Shopping Feed by Simprosys InfoMedia
- Multiple Google Shopping Feeds by WoolyTech
Most Shopify store owners go for Google channel without knowing there are alternatives. One important thing to be aware of is that with the Google channel, they will push you into creating a Performance Max campaign, which might not be ideal.
For this tutorial, we’ll be using Google channel since it’s the most popular. It used to have a lot of bugs in the past, but Shopify has worked hard to improve it over the last couple of years.
Here’s how to set up the Google channel on Shopify
- First, log in to the Shopify App Store and find the Google channel app by Shopify.
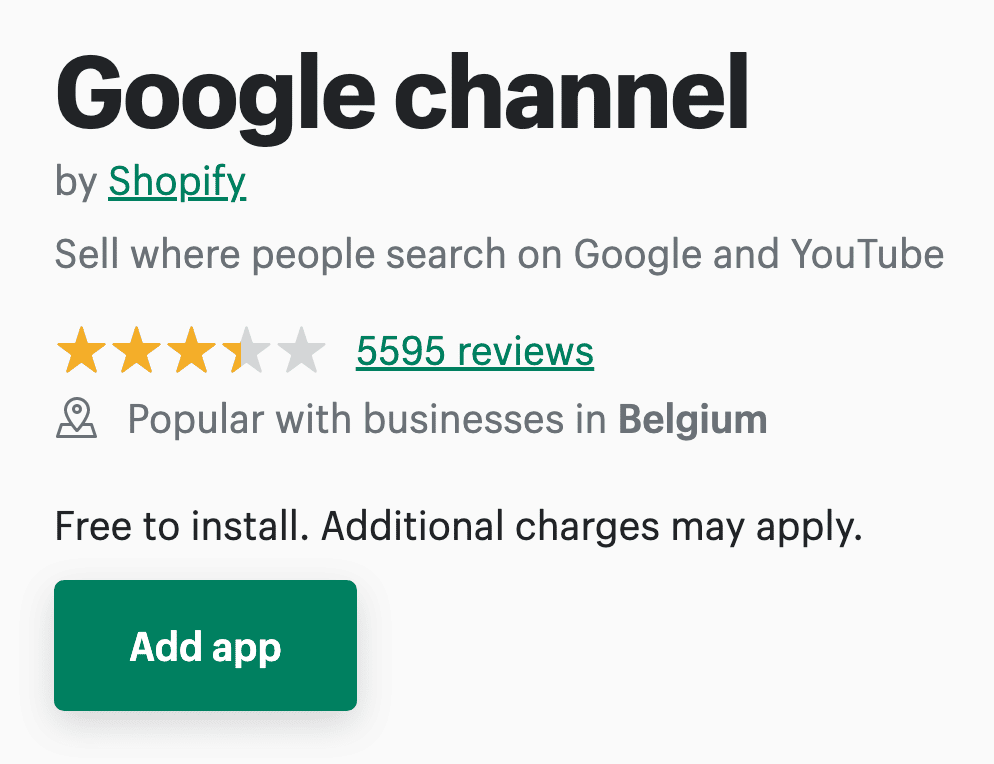
- Next, click the Add app button on the app’s listing page.
- Then, navigate to your Shopify admin page and authorize the use of Google channel by clicking Install app.
- Once you’re done installing, click Connect Google Account and then indicate the Google account you wish to connect to your Shopify account.
- Review all the setup requirements and follow the on-screen instructions to connect your accounts.
After finalizing the setup, the products on your Shopify store will automatically sync with your Google account.
The Google channel/app will automatically sync your current Shopify products with Google Merchant Center.
If you check in your GMC account, you will see a feed called “Content API”. That might sound strange, but it’s the link that Shopify uses.
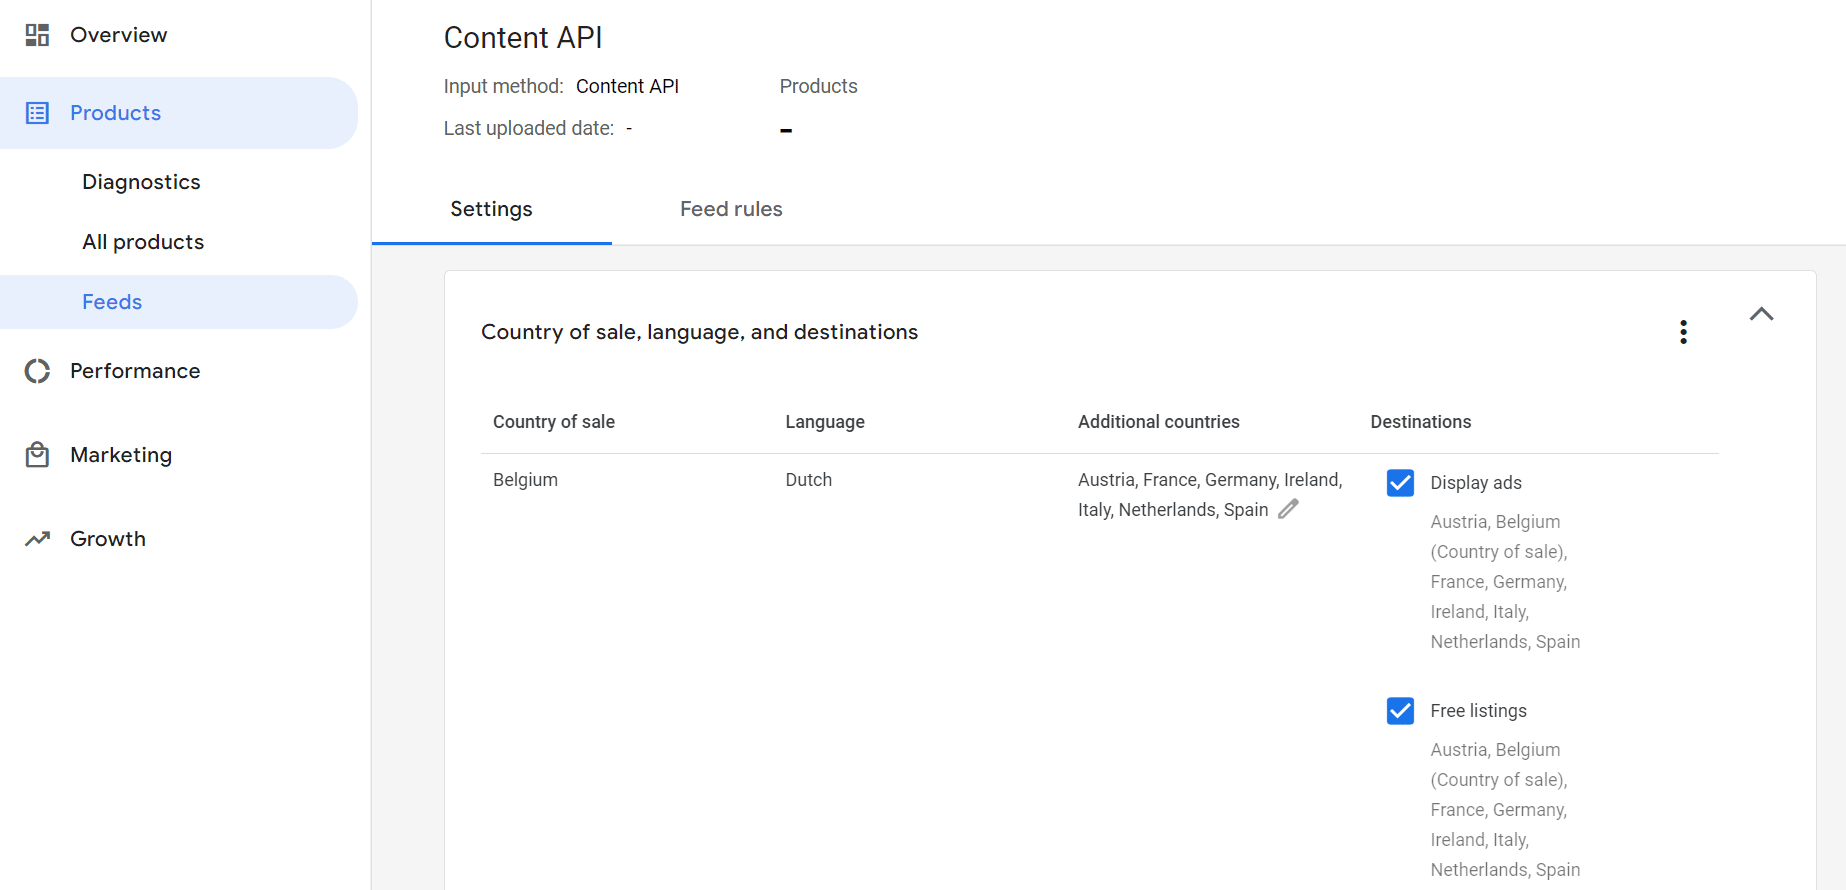
And every time you update something in your Shopify store, those changes are sent automatically to Google (Merchant Center).
If you choose to use one of the other feed apps I mentioned, they’ll work very similarly to the Google channel.
Method 2: Adding a Product Feed to Google Merchant Center
The previous section described how to automatically send product updates to Shopify.
If for some reason you can’t use these apps, you can use a product feed to send your product information to Google.
Here’s how to upload a product feed using the Google Sheets method:
- First, log in to your Google Merchant Center account.
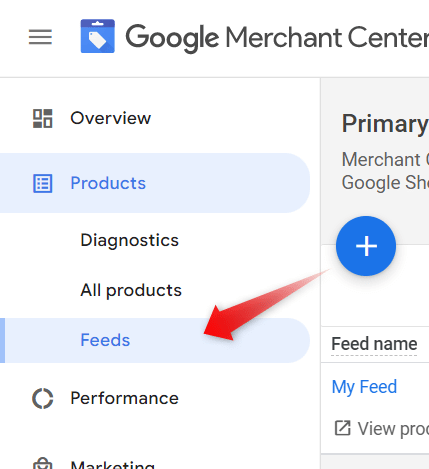
- Next, click Products on the navigation menu and choose Feeds.
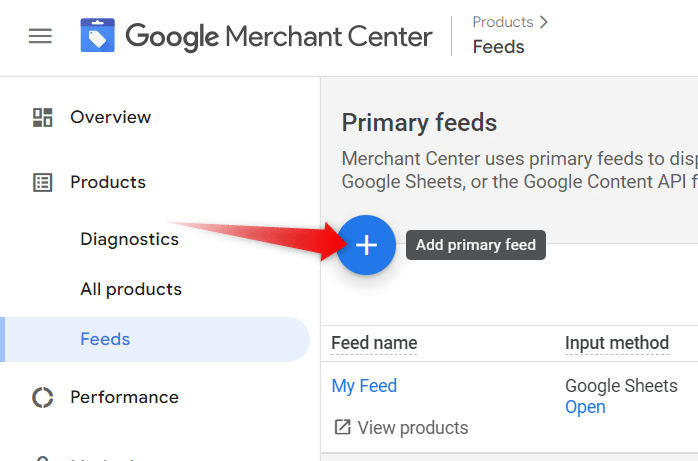
- From the Feeds section, create a new primary feed by clicking the blue plus button.
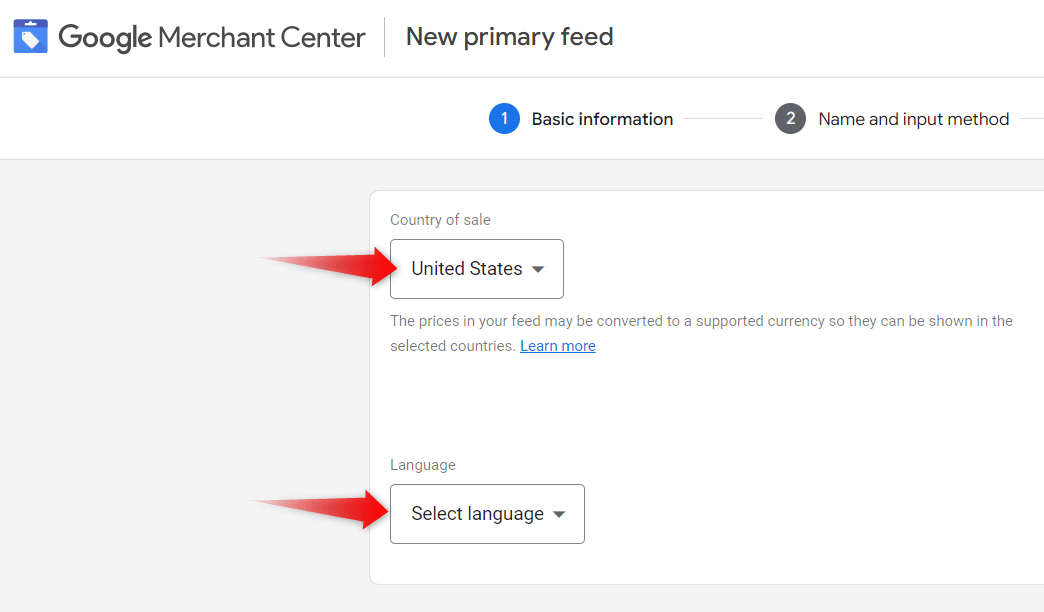
- At this point, select the country of sale and language of your new feed. Afterward, click Continue.
- Name your new feed and choose Google Sheets as the input method.

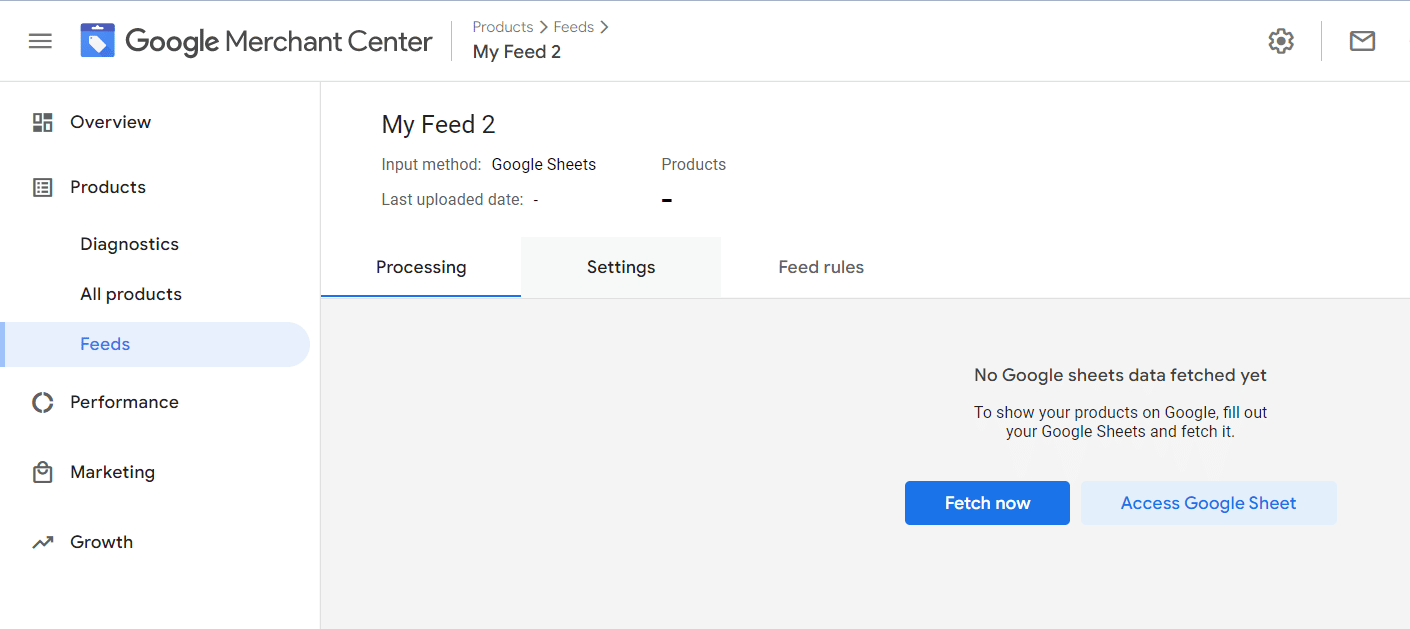
- This time, select the option that says “Generate a new Google spreadsheet from a template”, and then click Create feed. This will generate a new empty feed in your account.
- In order for you to fetch the product data, you’ll need to export it first from your Shopify store.
- So, log in to your Shopify account and select the store you need to export the product data from.
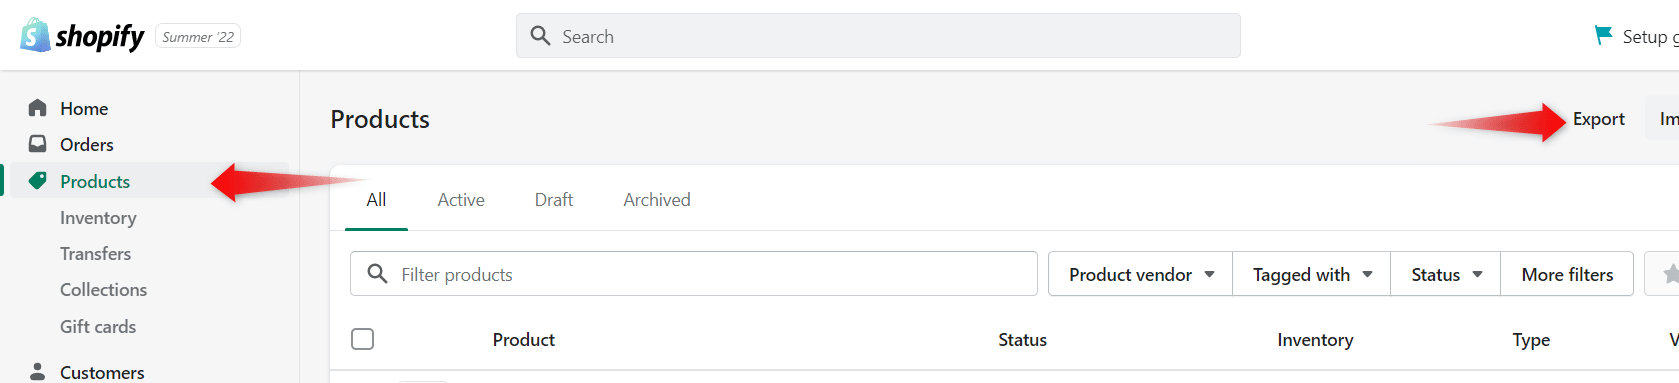
- From your Shopify account, click Products and then choose Export.
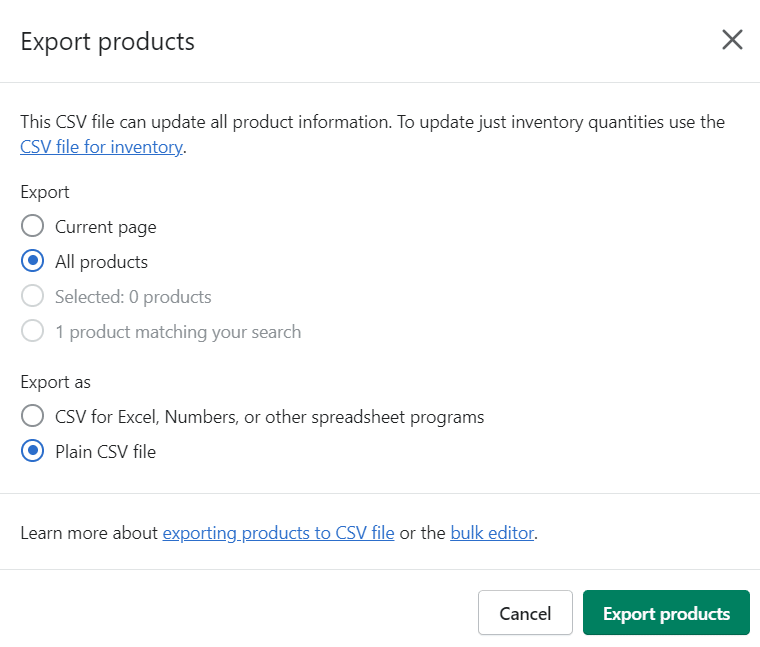
- From the Export products form, select All products and choose Plain CSV file.
- Afterward, click the Export products button to download the file. Your file will be sent to your email account.
Then, you’ll need to copy the product information from this product export into the newly created Google Sheet that will power your product feed.
You can use this article to guide you through the process.
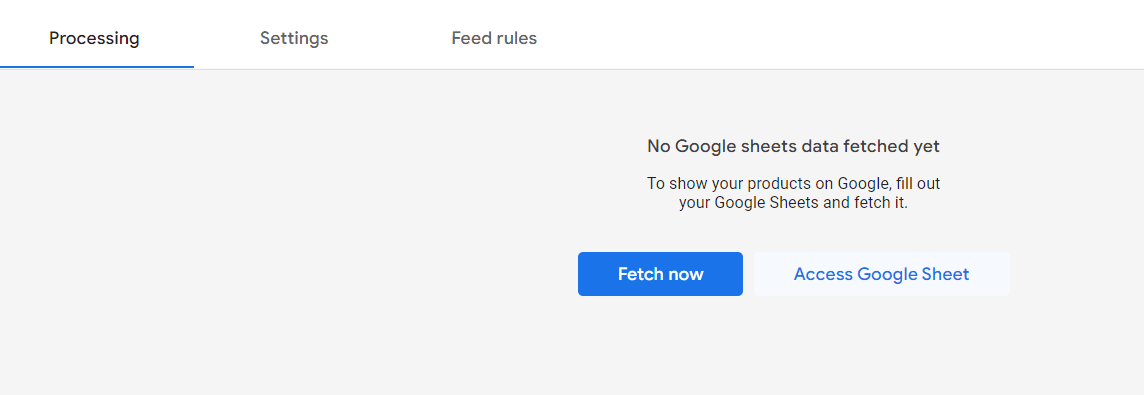
- When you’ve added all of your store information into the spreadsheet, you need to fetch the product feed from your Google Merchant Center account.
- In your account, click on the feed and then click the Fetch now button and wait for it to upload your product feed.
NOTE: Depending on how you create your products feed, changes in your Shopify store might not be automatically synced. Which can be a lot of work!
Now you’re products are ready to be used as part of Shopping Ads. To learn what other things you can do to improve your campaigns, have a look at our article on Google Shopping optimization.
Is it worth it to connect Google Merchant Center to your Shopify store?
While it might be a little work to get it all working, connecting GMC and Shopify is definitely worth it.
Adding your products in Google Merchant Center allows you to tap into all of the opportunities that Google has to offer.
The most obvious ones are Google Shopping and Free Listings.